Buzz Killer-Tutorial
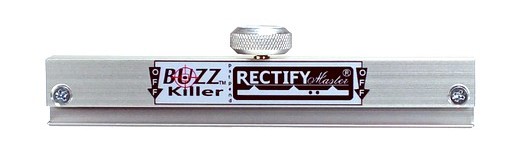
Buzz Killer – Tutorial
The Buzz Killer is designed to eliminate fret buzz with precision. It works by gently sanding down the frets that are causing the issue, while matching the overall relief of the fretboard. Follow these steps carefully:
⚠️ Very Important
- Do not tighten the two screws that hold the scraping base. Just keep them fully in.
- Do not turn the adjusting knob more than ¼ turn from the point it becomes active. Forcing it further may damage the tool, and in any case, normal neck relief never requires more curvature.
Step 1 – Identify the Buzz
- If the buzz happens when pressing the string at the 12th fret, the problem is usually at the 13th fret or higher.
- Place the Buzz Killer straight on the area. It will immediately help identify the offending fret(s).
Step 2 – Choose Your Strategy
The tool can be used in two different ways:
- Straight: on a straightened fretboard, for a uniform leveling.
- Relief-adjusted: to match or imprint a specific curve on the frets, depending on your setup needs.
Step 3 – Adjust the Relief
One method to match the tool with the fretboard relief:
- Bend the bottom of the tool slightly more than the fretboard curve and let it rock on the frets.
- Slowly release the knob until the Buzz Killer sits steady and doesn’t rock anymore.
Step 4 – Leveling
- Sand using short strokes, ideally moving in an X pattern to make the abrasion faster and more homogeneous.
- Move gradually along the fretboard or sideways if needed.
- The aim is to bring the higher fret(s) down so they behave like the others.
Step 5 – Automatic Stop
When the tool guards reach the lower frets and all frets have reached the desired mutual level (or a straight reference, if that was your goal), the tool will stop sanding by itself.
Step 6 – Evaluate and Confirm
- Before continuing sanding or filing, stop and evaluate: is reducing the fret really the correct solution for this buzz?
- Play the same notes that were buzzing to check progress.
- If the buzzing persists, carefully reassess whether leveling is the right direction before insisting.
- Continue only when you’re confident that the higher fret(s) are the real cause of the issue.
Buzz Killer – Reloading & Refreshing the Base
To keep your Buzz Killer working at its best, the base should be refreshed from time to time. Follow these steps carefully:
Step 1 – Clean the Base
- Remove any dirt, dust, or old adhesive from the bottom of the tool.
- Make sure the surface is smooth and dry before applying anything new.
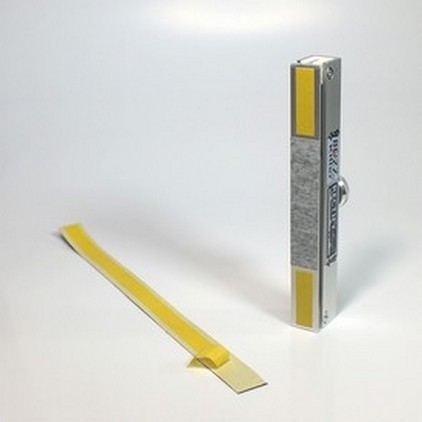
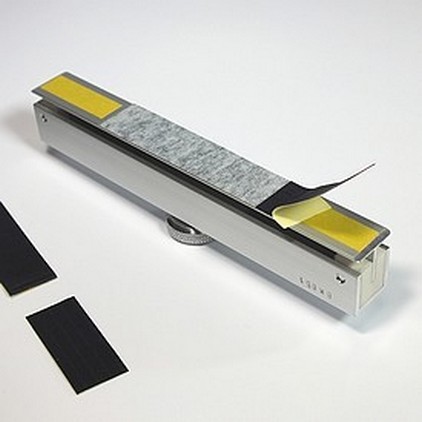
Step 2 – Apply the Abrasive and Masking Tape for Shimming
- Stick the abrasive (grey area) onto the base.
- Use masking tape (yellow area) underneath whenever you need to shim and bring the abrasive plane level with the guards.
- Press gently to ensure good contact.
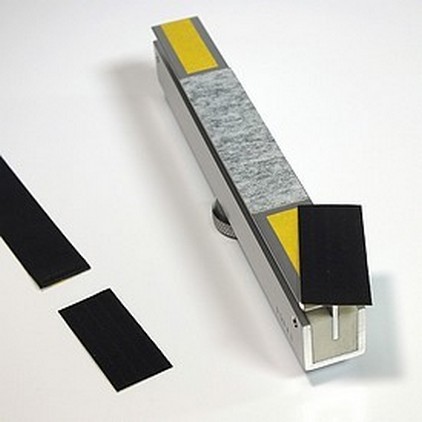
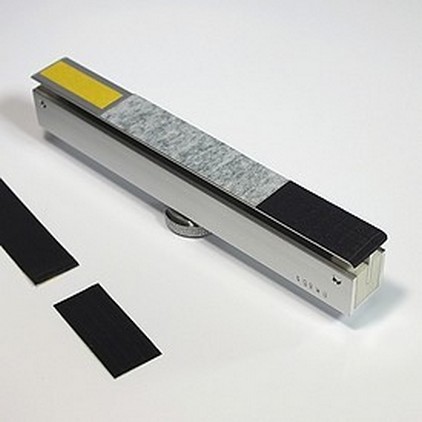
Step 3 – Apply the Guards
- Place the guards (black pieces) on the sides of the abrasive.
- These protect the frets not meant to be sanded.
Step 4 – Start from One Corner
- Begin application carefully from a corner.
- Move slowly along the surface so the parts align correctly.
Step 5 – Avoid Air Bubbles
- Press gradually to eliminate air bubbles between the base, abrasive, and guards.
- A smooth surface is essential for accuracy.
Step 6 – Correct Application
- Once applied, the abrasive and guards should form a clean, even surface.
- No visible gaps, bumps, or lifted edges.
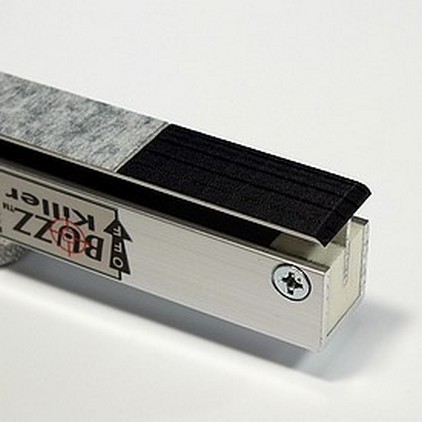
Step 7 – Final Look
- The bottom of the tool should now look uniform and ready for use, with abrasive and guards properly aligned.
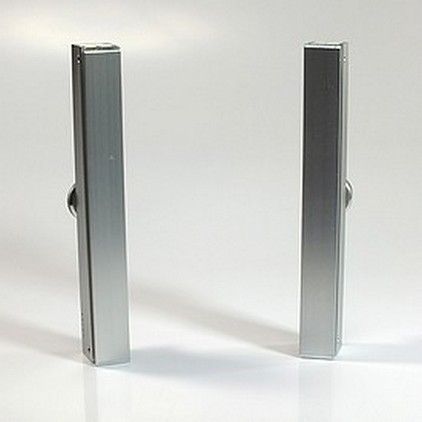
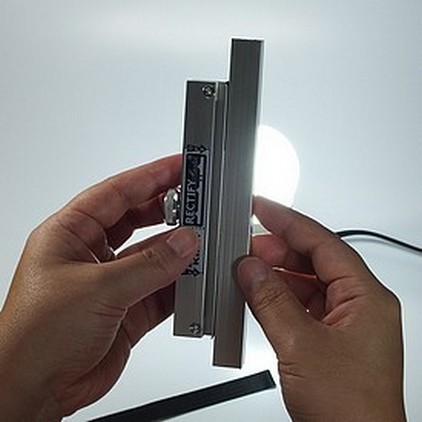
Step 8 – Check the Level
- Before use, check the mutual level of abrasive and guards.
- Use something straight (like a steel ruler) and a light source (see picture 2):
- If light passes through unevenly, adjust or reapply.
- Both abrasive and guards must be on the same plane.
Notes & Maintenance
- You can use different abrasives. If the thickness does not match the guards, add tape layers under the guards until they align.
- If guards lose fibers, simply cut them off. Replace guards only when they become too uneven or broken.
- Guards are just protection — don’t press or force the tool until the protections get “stressed.”
- After finishing a fret leveling job, always release the knob so the tool returns straight.